



How to Invert a Layer Mask in Photoshop
You’ve built a mask that’s hiding the wrong part of your image, or maybe you just want to flip
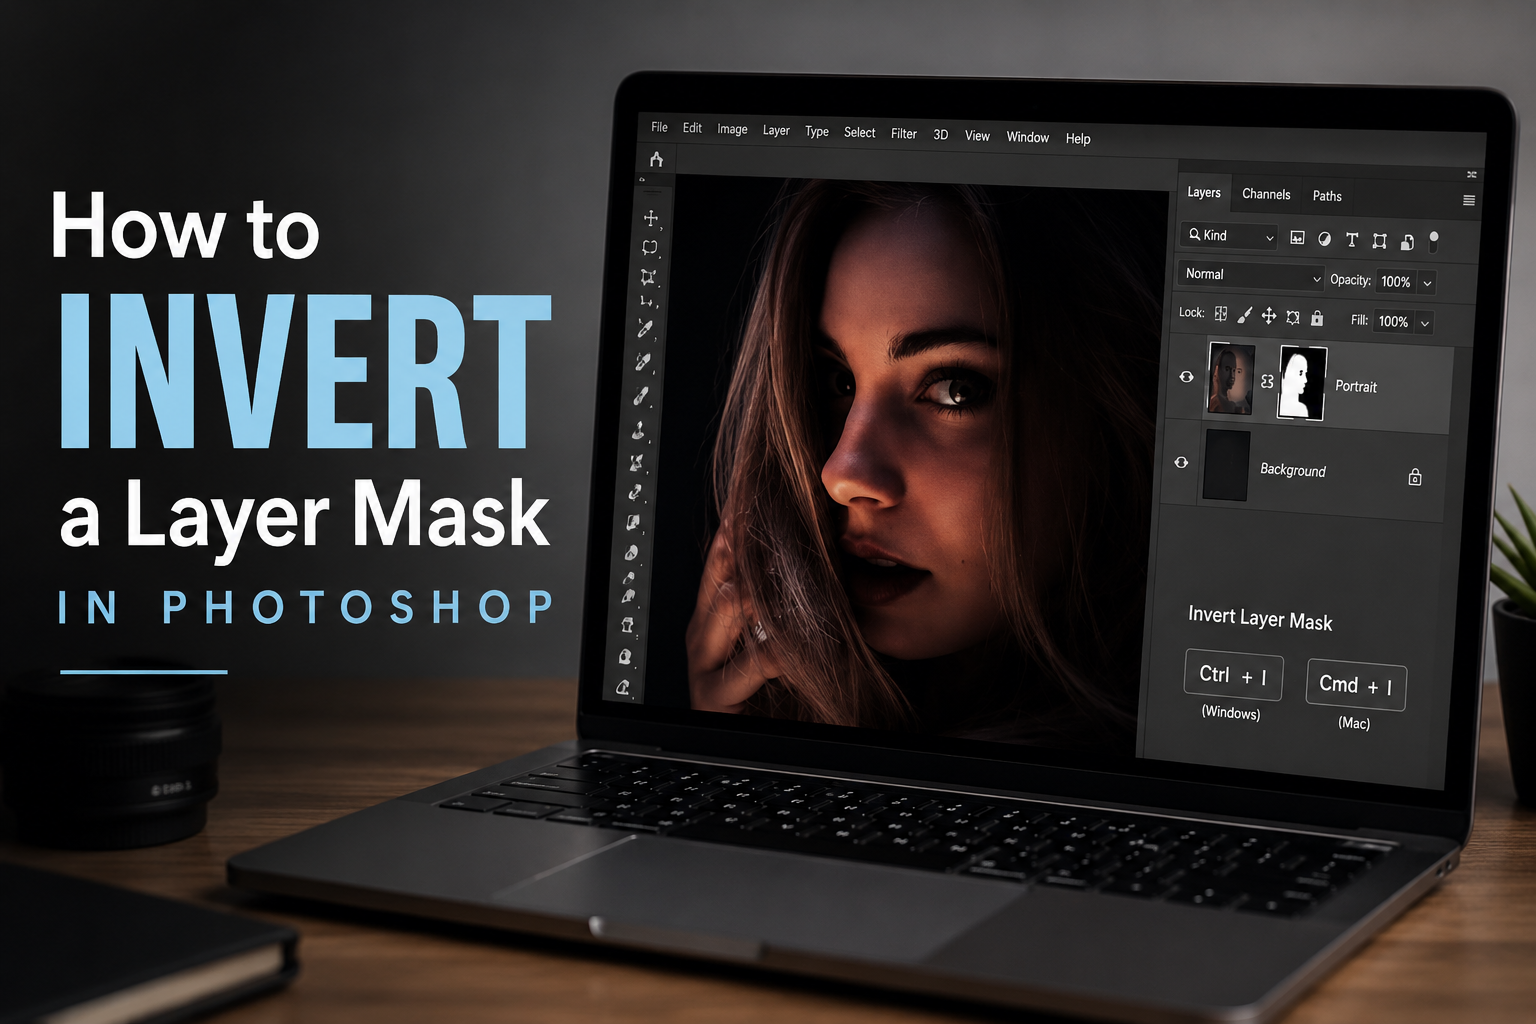
You’ve built a mask that’s hiding the wrong part of your image, or maybe you just want to flip it fast without starting over. Learning how to invert a layer mask in Photoshop takes one keystroke once you know where to click first. This guide covers the shortcut, the menu method, and the one mistake that trips up almost everyone the first time they try it.
If you work in design often, this is one of those small shortcuts that saves real time once it’s second nature.
Quick Answer
Click the layer mask thumbnail in the Layers panel to select it, then press Ctrl+I (Windows) or Cmd+I (Mac). This swaps every black and white value in the mask, reversing which parts of the layer are visible. You can also invert from Image > Adjustments > Invert. Just make sure you’ve selected the mask thumbnail, not the layer thumbnail, or you’ll invert the image colors instead.
What Happens When You Invert a Layer Mask
Inverting a layer mask swaps every black and white value in it, so whatever was hidden becomes visible and whatever was visible becomes hidden.
A layer mask works in black and white. White areas show the layer’s content, black areas hide it, and grey areas show it at partial opacity. When you invert the mask, Photoshop flips all of that at once. What used to be revealed gets concealed, and vice versa, according to Adobe’s own documentation on layer masks.
This is especially useful when it’s easier to mask the wrong area first. For example, it’s often faster to select a subject than a background. Mask the subject, invert it, and you’re left with a mask of the background instead, without redrawing anything.
How to Invert a Layer Mask With a Keyboard Shortcut
The fastest way to invert a layer mask is to click its thumbnail in the Layers panel, then press Ctrl+I on Windows or Cmd+I on Mac.
Look in the Layers panel for the layer you want to change. Its mask appears as a small thumbnail next to the layer’s content thumbnail, usually shown as a white or black rectangle. Click directly on that mask thumbnail. A white border appears around it, confirming the mask, not the layer, is now selected.
With the mask selected, press Ctrl+I (Cmd+I on Mac). The mask inverts instantly. There’s no dialog box and nothing to confirm, so it’s worth double-checking the result in your image right away.
How to Invert a Layer Mask From the Menu
If you’d rather avoid keyboard shortcuts, the menu route works the same way. Select the mask thumbnail as above, then go to Image, then Adjustments, then Invert. This produces the exact same result as the keyboard shortcut. It’s a good option if you’re still learning the shortcuts or if Ctrl+I is mapped to something else in your setup.
Common Mistake: Inverting the Layer Instead of the Mask
The most common mistake is clicking the layer’s content thumbnail instead of the mask thumbnail before pressing Ctrl+I, which inverts the image’s colors instead of the mask.
Both thumbnails sit right next to each other in the Layers panel, and it’s an easy click to get wrong, especially at a glance. If you select the layer thumbnail and press Ctrl+I, Photoshop applies a color negative to the actual image content instead of touching the mask at all.
If this happens, press Ctrl+Z (Cmd+Z on Mac) right away to undo it, then check the Properties panel (Window > Properties) to confirm which one is currently active before trying again. The Properties panel clearly labels whether you’re viewing mask settings or layer settings, which makes it a reliable way to double-check before you invert anything.
How to Invert Only Part of a Mask
You don’t have to invert an entire mask if only one section needs flipping. Make a selection on the canvas first, using the Lasso tool, the Marquee tool, or Select and Mask, to isolate the area you want to change. Then, with the mask thumbnail selected, press Ctrl+I. Photoshop inverts only the mask pixels inside your selection, leaving the rest of the mask untouched.
This is useful for detailed masks where one region needs to flip without disturbing careful edge work elsewhere in the mask.
How to Create an Inverted Mask From the Start
You can skip the extra inversion step entirely by holding Alt (Windows) or Option (Mac) while clicking the Add Layer Mask icon, which creates a black, inverted mask immediately instead of the default white one.
Normally, adding a layer mask gives you a plain white mask that reveals the whole layer. Holding Alt or Option while clicking the mask icon flips that default, giving you a black mask that hides everything until you paint or select areas to reveal. This is handy when you already know you’ll be revealing small areas rather than hiding them, since it saves you from inverting after the fact.
Duplicating and Inverting a Mask at the Same Time
If you need the same mask on a second layer, but flipped, there’s a shortcut that does both steps in one move. Hold Alt+Shift (Option+Shift on Mac), then click and drag the mask thumbnail onto the target layer. This duplicates the mask onto that layer and inverts it in the same action, according to tips shared by Julieanne Kost, Adobe’s Principal Digital Imaging Evangelist, on her Photoshop tips blog.
This combination move is especially useful when working with paired adjustment layers where one needs to affect the opposite area of the image from the other.
Practical Takeaways
Inverting a layer mask always comes down to one thing: select the mask thumbnail, not the layer thumbnail, then press Ctrl+I or Cmd+I. If you only need part of a mask flipped, make a selection first. And if you know from the start that you’ll need an inverted mask, hold Alt or Option when you create it to skip the extra step.
FAQ
What’s the difference between inverting a mask and inverting a layer? Inverting a mask swaps its black and white values, reversing which parts of the layer are visible. Inverting a layer applies a color negative to the actual image content. Both use the same Ctrl+I shortcut, so which one happens depends entirely on which thumbnail is selected first.
Why isn’t Ctrl+I working on my mask? This usually means the layer’s content thumbnail is selected instead of the mask thumbnail. Click directly on the mask thumbnail in the Layers panel, confirm the white selection border appears around it, then try the shortcut again.
Can I undo an inverted mask? Yes. Press Ctrl+Z (Cmd+Z on Mac) immediately after inverting to undo it, the same as any other edit in Photoshop.
Can I invert just part of a mask instead of the whole thing? Yes. Make a selection with the Lasso, Marquee, or Select and Mask tool first, then invert with the mask thumbnail selected. Only the mask pixels inside that selection will flip.
Does inverting work the same way on adjustment layer masks? Yes. Adjustment layers come with their own mask by default, and it inverts the same way as a mask on a regular image layer, using either Ctrl+I or Image > Adjustments > Invert.